When it comes to vegan Christmas dessert recipes, these super cute little Santa hat brownies are a must-try!
The best things about these Christmas brownie bites are that they’re:
- Mostly raw vegan, with a raw brownie base and an unbelievably delicious raw chocolate frosting
- Made with healthy whole food ingredients
- Easy to make
- Perfect for a finger food Christmas party
- A great summer Christmas recipe (as they are served cold)
How to Make Them
There are 3 main elements to these brownies, all of which can be prepared in advance and left in the fridge, ready to assemble the brownie bites before serving!
But you can also prepare them all in one hit and store them in an airtight container in the fridge before serving. They’ll keep for as long as the strawberries will keep for (I’d say only a few days before the strawberries start to decline).
The Raw Brownie Base
To make the raw vegan brownie base, you just need to add the following 5 simple ingredients to a food processor (or decent blender):
- Medjool dates (or regular dates soaked for an hour prior in filtered water and well drained)
- Almond or cashew butter (raw to keep this recipe fully raw, or roasted for a richer flavour)
- Almond meal (or almond flour)
- Cacao powder
- Vanilla extract.
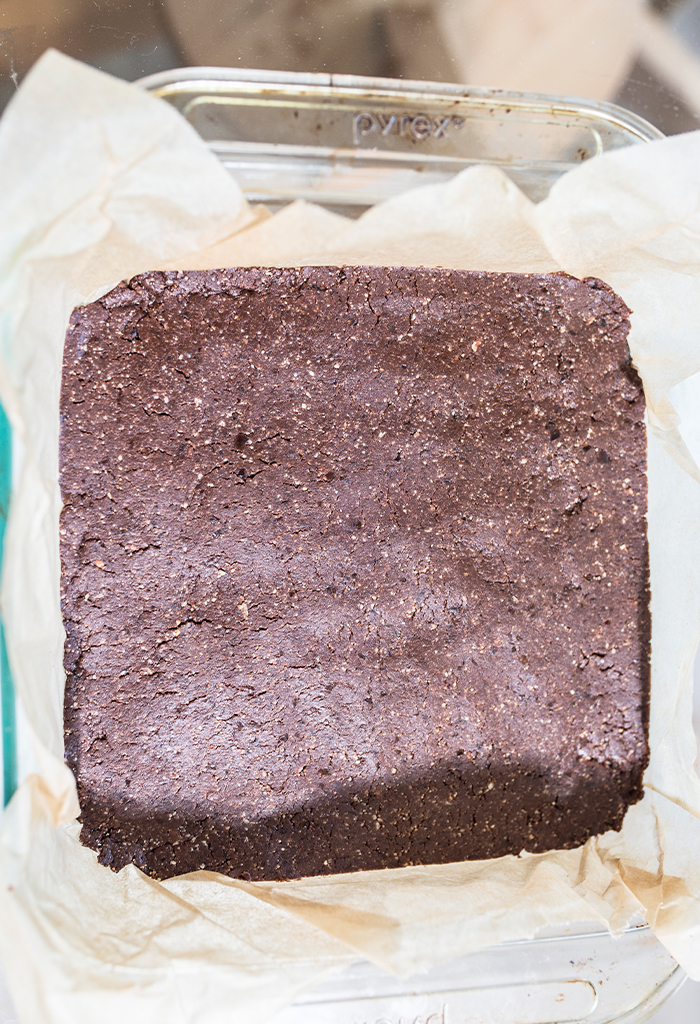
Once processed to a fine crumb, this mixture is then pressed into the base of a 21x21cm brownie pan lined with baking paper and placed in the fridge.
The Raw Chocolate Frosting
For the frosting, a small bullet blender is ideal, but any blender should do the trick. You just need:
- More almond or cashew butter
- More cacao powder
- Maple syrup
- More vanilla extract
- Possibly a dash of plant-based milk.
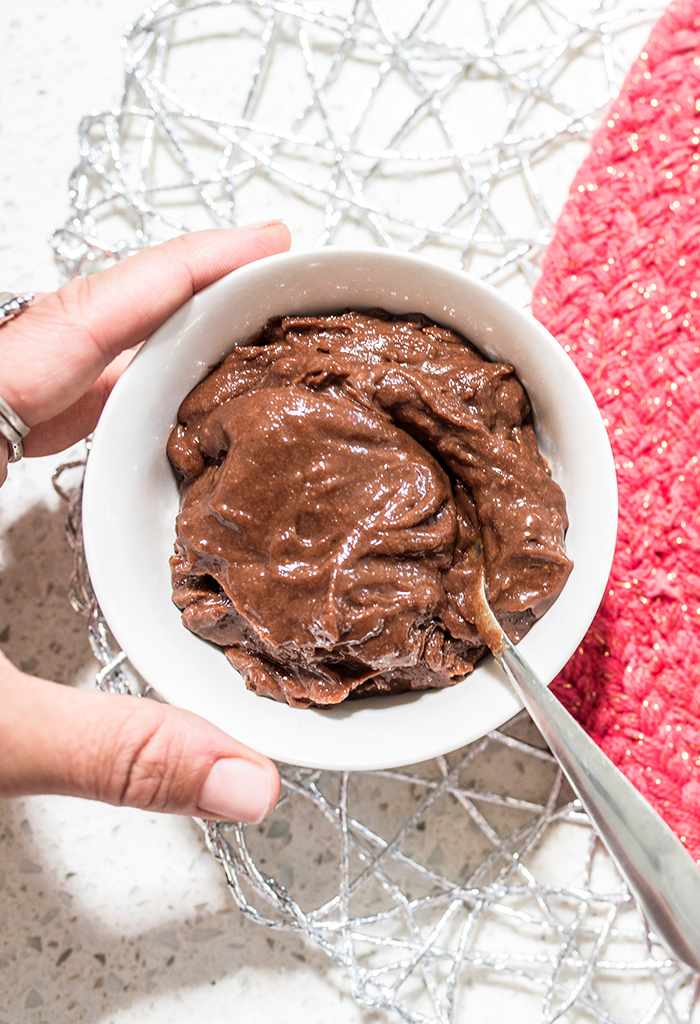
See how you go without the milk at first, and if the blender is struggling, a tablespoon or two (at the most) should help it along to get a nice smooth frosting. Pop this in the fridge to set a little as well 🙂
The Strawberry Santa Hats w/ Whipped Coconut Cream
Ok so the whipped coconut cream is very easy, HOWEVER… a few important things to note:
- The success of your whipped coconut cream depends entirely on the brand of coconut cream you use. I have tried a few (here in Australia) and thus far have only had success with the Macro brand organic full fat coconut cream from Woolworths, OR the Coles brand organic full fat coconut cream. There is plenty of info on the web for brands that work in other countries so feel free to do a Google search, OR skip to point 3 below 😉
- You will need to allow at least 24 hours for the coconut cream to chill in the fridge prior to whipping it.
- If you don’t have time to muck around with finding a brand that works, then look for a specific vegan whipping cream (coconut or otherwise) in the plant-based section. Note that this may have additional additives so just read the label and make sure it hasn’t got any added nasties.
With that said, assuming you have a good brand of coconut cream that has been chilled in your fridge overnight, ideally you want to refrigerate your mixing bowl for 10 mins prior to whipping. Since coconut cream melts fast, it’s best to work quickly and use chilled equipment.
All you need to do now is open the chilled can, scoop out the hard parts from the top (which is usually the top half, so around 200mL) and place them into your chilled mixing bowl. Using electric beaters on high, whip the hardened cream for around 30 seconds.
You don’t have to add anything but I highly recommend adding a tablespoon of organic icing sugar, or even better – an organic monk fruit based icing sugar replacement, such as the one pictured below. This helps it to set better and adds a little extra sweetness.

Putting it all Together
Now it’s time to arrange it all to make the brownie bites all pretty and party-ready! So, here’s how it’s done:
- Start by removing the brownie base from the fridge. I used a 5cm snowflake-shaped cookie cutter, but you could used a different shape (such as a star), or even just a circle to cut your shapes 🙂 Cut out as many pieces as your cookie cutter will allow and arrange them on a serving plate. With the excess, you can either roll it into bliss balls or re-flatten it with a rolling pin and cut out yet more shapes. I recommend the latter, as you will likely have leftover chocolate topping.
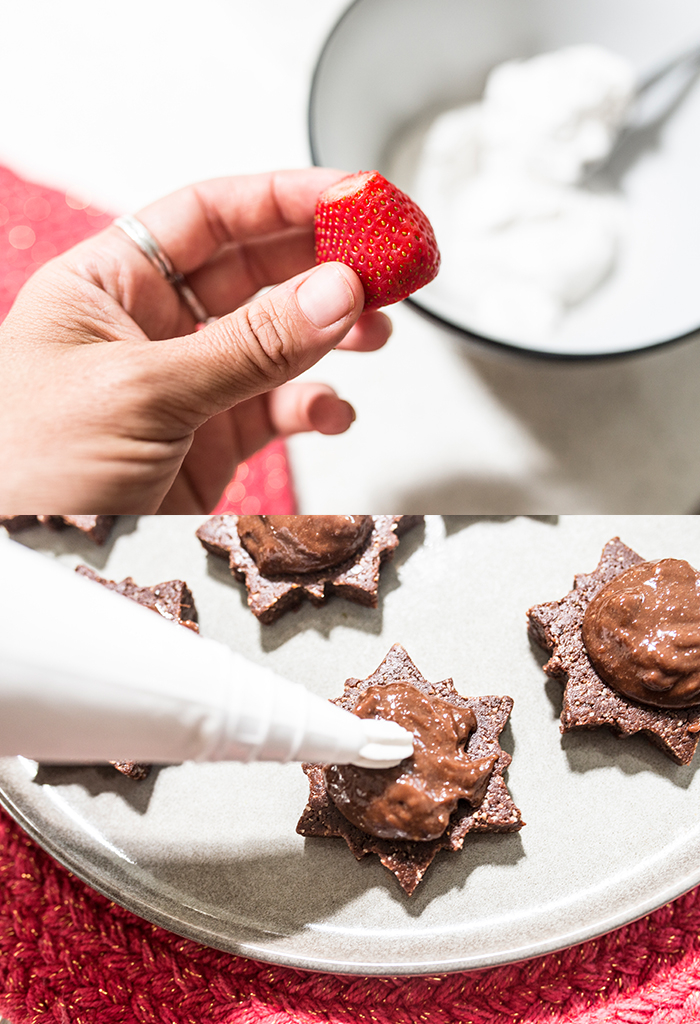
- Take the frosting from the fridge and dollop heaped teaspoonfuls of it into the centre of each brownie base. Note that if your frosting is quite thick, it may need a few extra minutes out of the fridge to soften so that you can complete this step.
- Prepare the strawberries by slicing off the green ends to make a flat bottom, and then slice a tiny (1/2cm or so) piece off the top end to create a small flat surface for piping a little coconut cream onto.
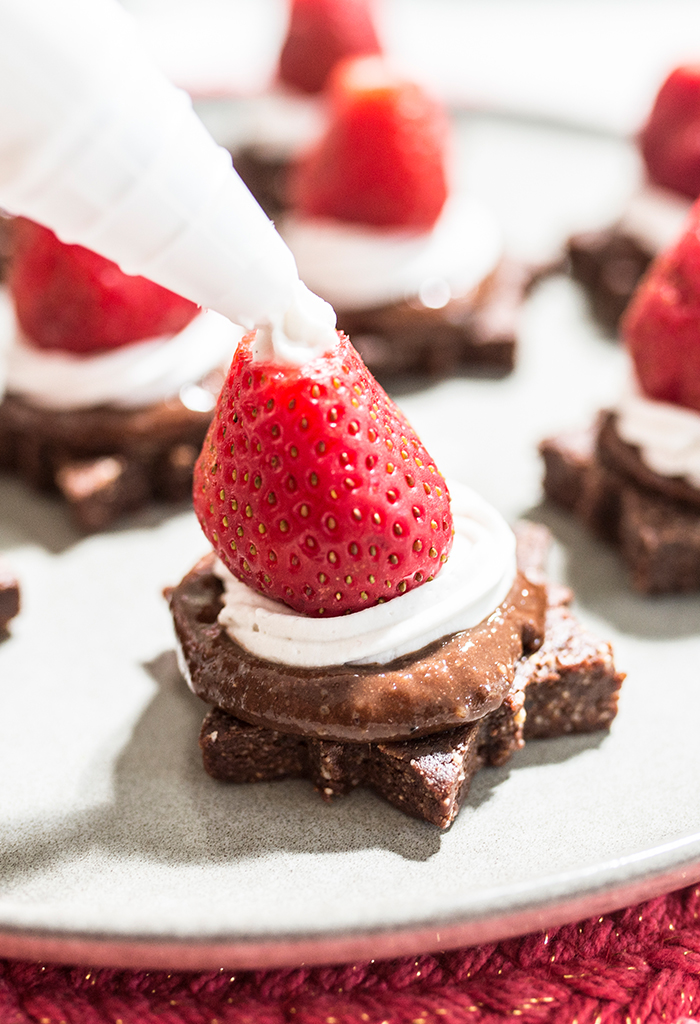
- Prepare a piping bag with a star attachment and scoop the chilled whipped coconut cream into the bag. Pipe little circles on top of the frosting, as shown below.
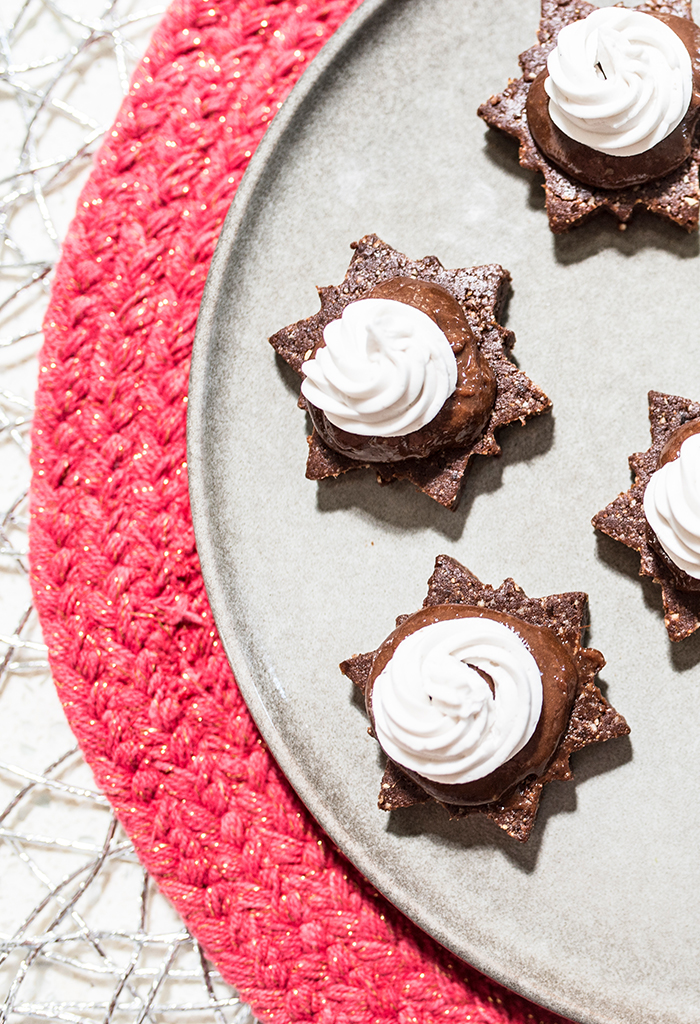
- Place the prepared strawberries on top then pipe a touch more whipped coconut cream on top to create the top of the ‘santa hats’. Voila!
These are a seriously delicious, healthy and cute-as-a-button addition to the vegan Christmas table! Especially if you live in a warmer climate (like here in Australia!) and have been searching for Summer vegan Christmas dessert recipes.
Enjoy friends, and Merry Always to you!


Super cute, delish, healthy and festive finger-food style brownie bites!
- 1 cup packed pitted medjool dates (approx. 10)*see notes
- 1/2 cup almond or cashew butter **see notes
- 1/2 cup almond meal (or almond flour)
- 1/2 cup cacao powder
- 1 tsp vanilla extract
- 1/2 cup almond butter **see notes
- 3 tbsp cacao powder
- 3 tbsp maple syrup
- 1 tsp vanilla extract
- 1-2 tbsp plant milk (use ONLY if needed - see recipe instructions)
- 12 fresh strawberries
- 1 can CHILLED full fat coconut cream ***see notes
- 1 tbsp monk fruit icing sugar substitute (or regular organic icing sugar) ****see notes
-
Ensure you have a can of chilled coconut cream that has been refrigerated at least overnight. (See recipe notes and description above for notes on this). Remove the can of coconut cream from the fridge and be careful not to shake it, as the coconut cream should have separated and you want it to stay that way!
-
Place a small mixing bowl in the fridge to chill for at least 10 minutes prior to the following step.
-
Carefully open the can of coconut cream and scoop out the hard parts, which should be approximately half the can (200mL). Add them into the pre-chilled mixing bowl and use electric beaters to whip the hardened cream for around 30 seconds to a minute. Add in the monk fruit icing sugar replacement and whip for a further 10 seconds to combine. Place the whipped cream in the fridge to firm up more while you move on to the rest.
-
Line a 21x21cm baking tray with parchment/baking paper, then add all the brownie base ingredients to a food processor and process to a fine crumb consistency. Tip into the prepared baking tin and press the mixture down firmly and evenly. You can use the back of a spoon towards the end to help even it out. Place in the fridge.
-
Add all the chocolate frosting ingredients - except for the milk - to a small blender (ideally a bullet blender) or small food processor and blend/process until smooth. If the blender struggles, add some plant milk 1 tablespoon at a time until it blends into a smooth frosting. Transfer into a small bowl and place in the fridge.
-
Prepare the strawberries by cutting the green ends off to create a flat base, then cutting approx. 1/2 cm off the top of each to create a flat surface for the Santa hat tips.
-
Remove the brownie base from the fridge and use a 5cm round-ish cookie cutter of choice (star/circle/snowflake) to cut shapes from the brownie and arrange them on a serving plate. Depending on the size and shape of your cookie cutter, you should get 9-15 pieces. You can re-roll the excess to make extra shapes or even just roll them into bliss balls.
-
Dollop heaped teaspoonfuls of the frosting onto each shape.
-
Prepare a piping bag with a star-shaped nozzle and fill it with the whipped coconut cream. Pipe little circles of the cream on top of the chocolate frosting.
-
Place the prepared strawberries on top, then finish with a little extra piping of coconut cream to top off the Santa hats! Serve immediately or return to fridge to serve when ready 🙂
*Or sub regular dates that have been soaked for one hour prior in filtered water then well drained (not too wet, or your brownies will end up too moist).
**Use raw nut butter if keeping this recipe completely raw, otherwise use roasted nut butter for a more rich flavour.
***See recipe intro above for notes about which coconut cream brands work for whipping. Some brands won't work, so important to try them out first or Google search "coconut cream brands that work for whipping in [insert your country]." You can also sub with a specific vegan whipping cream substitute (just watch out for nasty additives)!
****See recipe intro above for a pic of the awesome organic monk fruit-based icing sugar replacement I use. Hopefully you can find something similar!

Sign up for a Freebie!
Join my mailing list and get a free guide to simple plant-based swaps
0 Comments