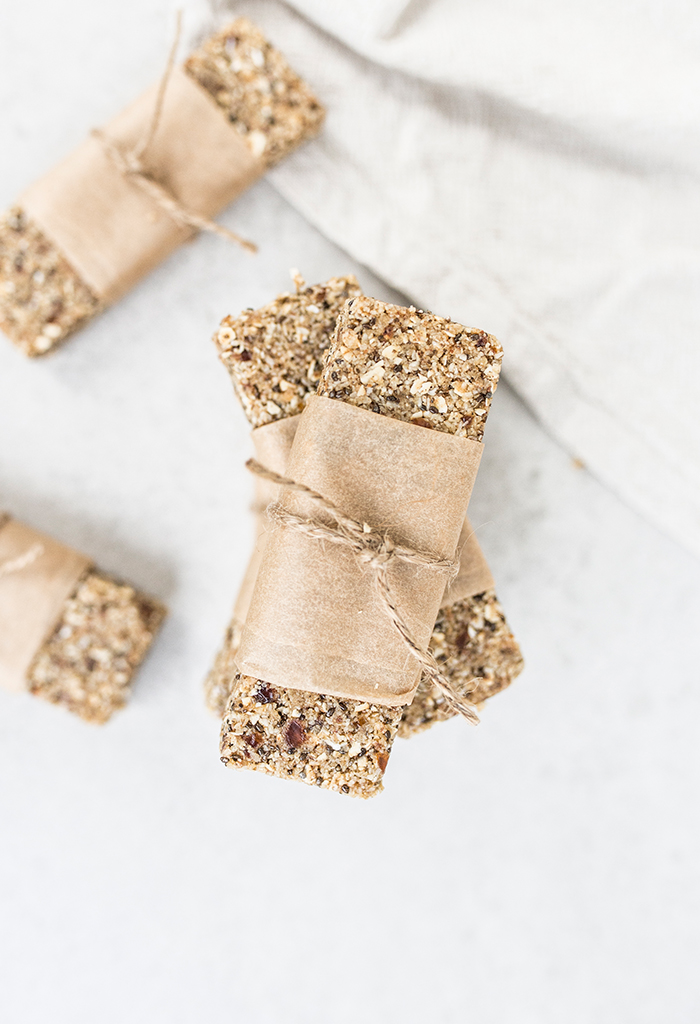
These no bake, homemade salted caramel muesli bars have been a huge hit in my household.
I can hear my Northern-hemisphere friends asking “WTF is a muesli bar?” Ha.
Well, it would be much like what is referred to in many other countries as a granola bar. But there is a major difference between muesli and granola… muesli is uncooked. Granola is baked to make it crispy.
These salted caramel muesli bars – as we lovingly refer to them as here in Australia – are made with rolled oats, desiccated coconut, chia seeds and other raw ingredients, therefore they don’t classify as a granola bar.
Now that I’ve cleared that up, let’s move onto what’s in them and how to make them!
The Ingredients
These are ridiculously simple to make, and full of wholesome ingredients, including:
- Desiccated coconut
- Rolled oats
- Almond meal
- Medjool dates
- Chia seeds (ground chia will work too)
- Coconut nectar
- Coconut oil
- Good salt
That’s it! 8 ingredients and a food processor is all you need to make the muesli bars.
Just a couple of notes about substitutions…
Can you substitute the oats to make them completely gluten free? Yes – use quinoa flakes instead.
I don’t have coconut nectar, can I use something else (like maple syrup)? Of course you can, but if you can get your hands on some coconut nectar (health food stores and even some mainstream grocery stores now stock it) – it will be worth if for these bars! It brings a rich and delicious salted caramel flavour.
How to Make Salted Caramel Muesli Bars
To make these wholefood homemade salted caramel muesli bars you just need a food processor and a fridge.
Depending on the power of your machine, you may want to roughly chop the medjool dates first to help it along, as these are the main element of the recipe that the processor will need to chop. And some processors can struggle a little with chopping Medjool dates since they are so sticky.
Throw all the ingredients into your food processor and process until it reaches your desired consistency.
Yes, you have a choice – you can leave them a little bit chunky (although not too chunky or they won’t hold together well). Or you can process until they are quite fine.
I am blessed with a Thermomix so a matter of seconds is all it takes to pump out the mixture for these bars.
I also used the Thermomix snack bar moulds to get the perfect size and shape for the bars (see below, little bubba girl was giving me a hand 😂).
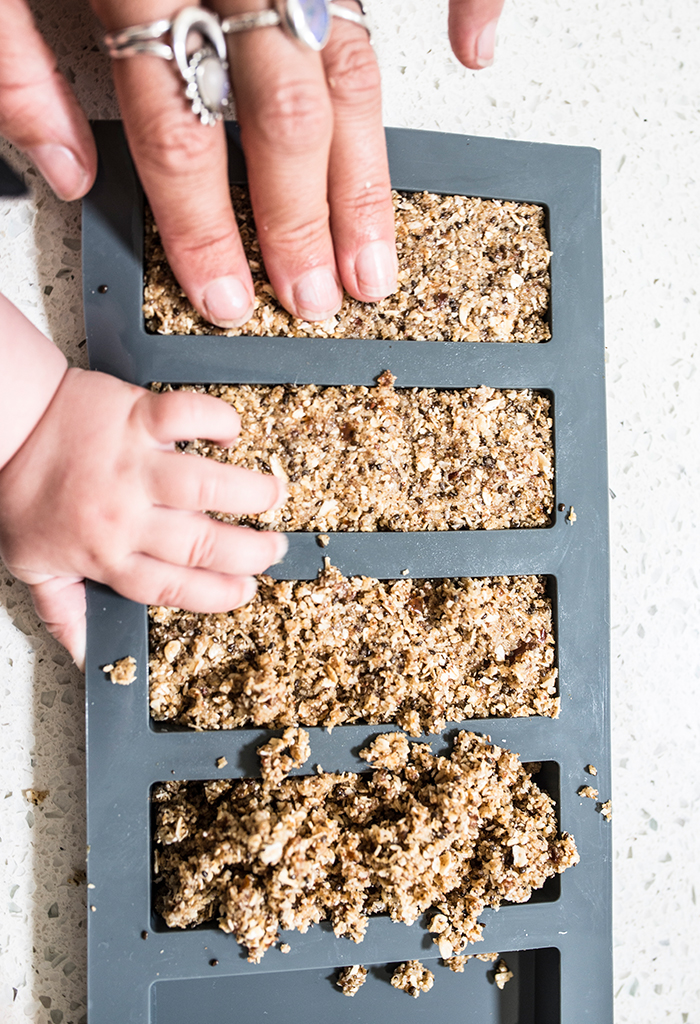
There was a little leftover after using these, so I just shaped the remainder into bliss balls 😉
In the absence of snack bar moulds, you can just use an 8x8inch brownie/baking pan and cut them into 8 bars once they have set in the fridge, which takes approximately 2 hours. This may work out better for you anyway if you wanted to cut them into smaller snack-size pieces for lunchboxes etc.
These homemade vegan muesli bars are super healthy, easy and perfect for both kids and adult lunch boxes. Hope you enjoy 😉

Whole food plant based and delicious!
- 1 cup desiccated coconut
- 3/4 cup rolled oats (sub quinoa flakes for completely gluten free)
- 1/2 cup almond meal
- 6-8 medjool dates (pitted)
- 1/4 cup chia seeds (or ground chia/flaxseed)
- 2 tbsp coconut nectar (more or less to taste)
- 1 tbsp coconut oil
- 1/4 tsp good salt
-
Depending on the strength of your food processor, you may want to finely chop the medjool dates first. If you are using a Thermomix or high-powered processor you will be fine to throw them in whole.
-
Add all ingredients to food processor and pulse until it reaches a rough crumb-like consistency. You don't want any huge chunks but you also don't want it to be too fine. See picture in post above for how it should look.
-
Press into snack bar moulds, or an 8x8inch baking pan and refrigerate for 2 hours before removing from moulds, or slicing into 8 bars.
-
Will keep in the fridge for up to 1 week or can also be frozen for up to 3 months!


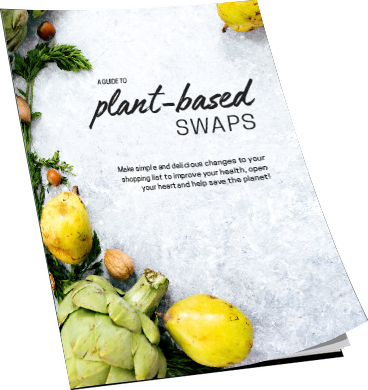
Sign up for a Freebie!
Join my mailing list and get a free guide to simple plant-based swaps
0 Comments